Easily Add Style to Your Home with Picture Molding
Do you have that one wall in your home that you look at every day and just don’t know what to do to make it stand out? It’s a boring wall that just seems to sit there staring at you, begging you to bring out its character but you’re not sure how.
You know it could be a great statement wall, but besides painting a huge mural of sea turtles swimming among brightly-colored fish, you’re not sure what to do.
(And, let’s just add right here that we’ll never recommend a mural of fish and turtles as a statement wall.)
If you want to learn about a classic, DIY way to create a powerful new look in your home, read on.
Picture Molding Now and Then
One of today’s biggest trends in home decorating is installing picture molding, either on one wall of your home or an entire room.
But it’s not a new thing! In fact, picture molding has a great history!
It came into fashion over 100 years ago as a great way to hang artwork on plaster walls that were difficult to penetrate. It was especially popular in New England and Southern homes during the Victorian Era.
And while its origin date is old, like many worthwhile trends, what’s old is new again.
We’re seeing more and more homes install picture molding (sometimes called picture rail molding) to add character and functionality to a room.
See also: The Best Studio Couch for Your Apartment
What is Picture Molding? Let us Explain …
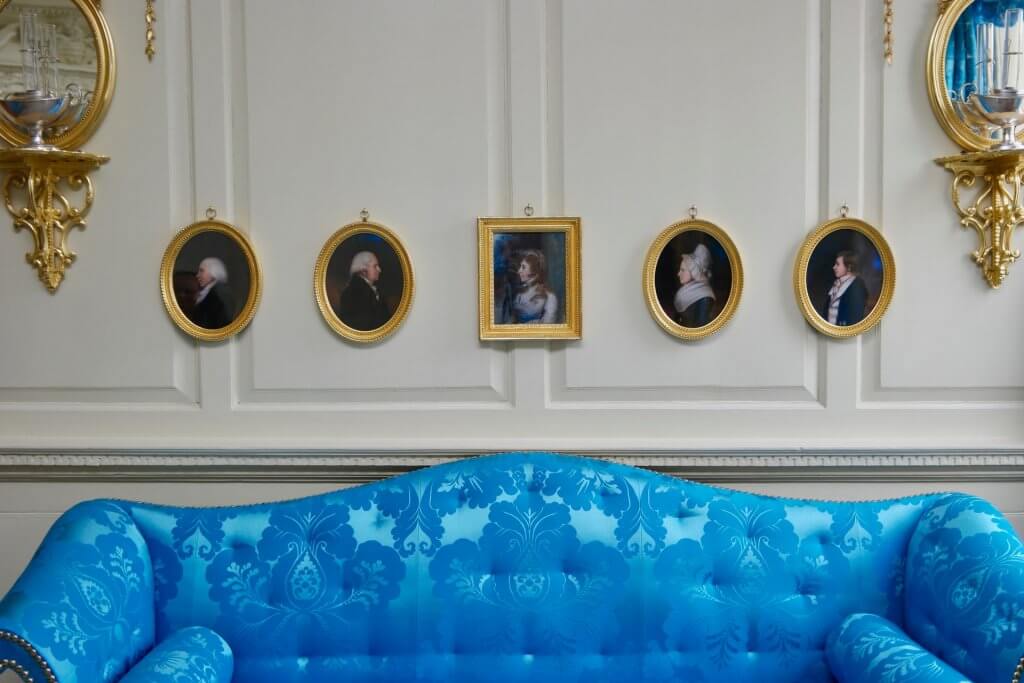
Picture molding is an interior trim element that is usually a one-and-a-half to two-inch thick molding strip that wraps around a room. It can also be installed on just one free-standing wall which doesn’t have any corners.
Picture molding is usually positioned at the same height as the top of the window panes that are also in the room. It typically drops off at an equal distance above the baseboard.
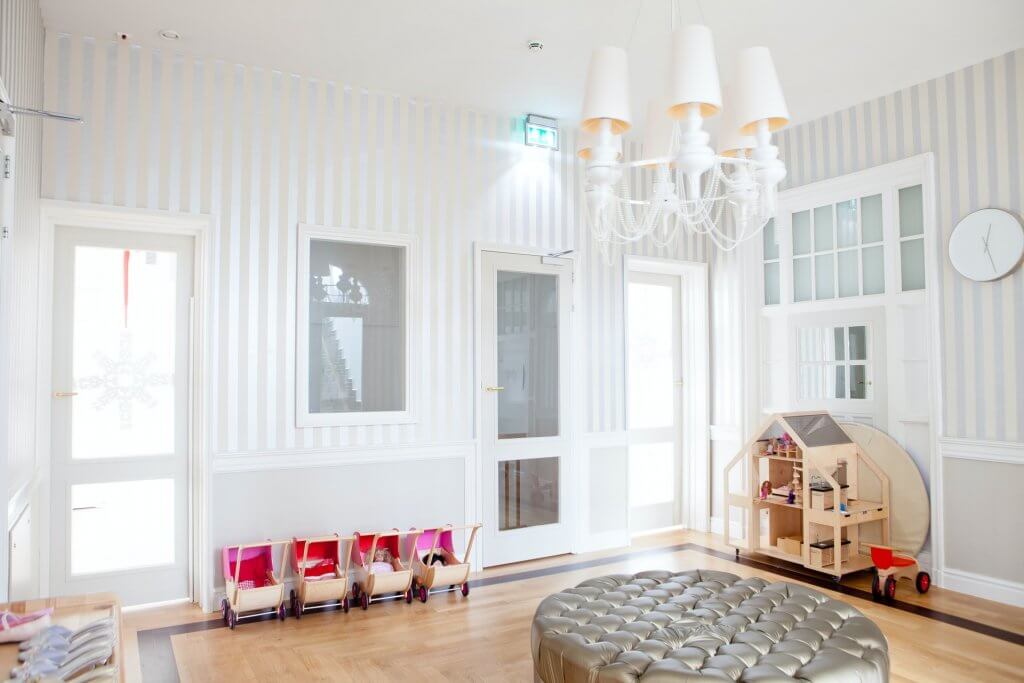
In some homes though, the homeowners have gone with the option of having the picture molding positioned just a few inches directly beneath the crown molding, so it’s just several inches beneath the ceiling. Either option can be a stunning feature in a room.
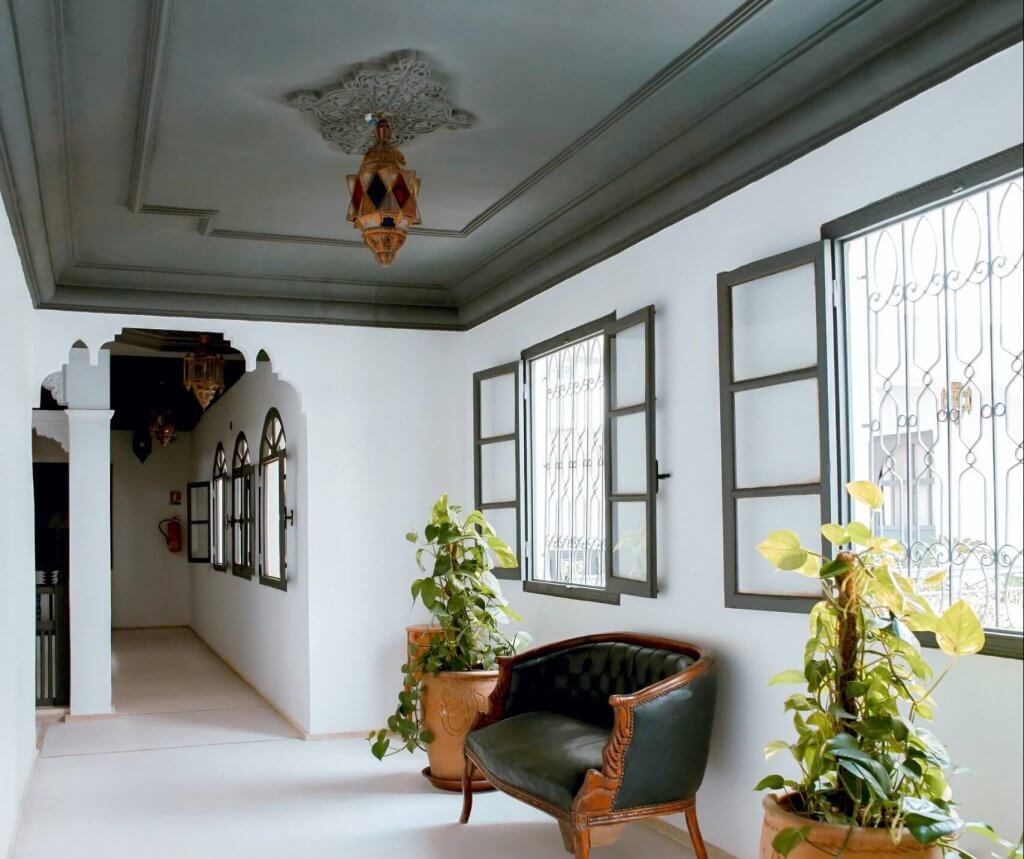
If you’re lucky enough to have an older home (such as many of them built before World War II), you might already have picture frame molding that just needs to be revamped and restyled a bit.
Most more modern homes do not have picture molding. It’s a DIY project, but luckily, it’s not as hard as it looks and the results are spectacular — turning that boring, old wall into a statement wall within a short time period.
Installing Picture Molding
Ready to start creating a beautiful statement wall? Read on for step-by-step instructions on how you can create this beautiful enhancement in your home.
We promise, it’s easy!
Planning Your Molding
Sometimes the hardest part of any major change in your home comes in the planning.
It’s important to get agreement from everyone in the home before you begin a fairly major renovation such as installing picture molding in a room or on a wall.
Where will it go in the home?
You may feel like you know exactly which wall or room needs picture molding, but it’s always wise to verify with any other adult in the home to make sure everyone is in agreement.
As you would with wainscoting and crown molding, you will likely add your picture frame moulding in the living or dining rooms. See some samples here.
Where will it go on the wall?
Picture molding can be simple, or it can be detailed.
Choose if you want to simply run a strip of molding parallel to the ceiling around the top of the wall(s) or if you’d actually like to create “picture frames” along the wall to place artwork in (or leave as interesting details).
Once you decide which style to do, map out how it will be positioned on the wall.
- If installing a simple strip, it’ll be as easy as determining if you’re lining it up with the top of the windows or choosing another placement.
- If you are more creative, and want to build picture frames with molding on the wall, then create a scale model of the wall to determine exact placement and size.
What type of molding do you want to use?
Do you want to use molding that matches the style of your home or are you looking for a completely new and fresh look?
Most home stores carry several styles for you to choose from and it’s reasonably priced. You can choose a 1¾ inch solid pine molding for under $2 per linear foot or go for some more expensive, historically accurate styles of panel molding that will run somewhere between $2-$5 per linear foot.
Just choose the style that reflects your style! Find style ideas on Home Depot here.
Tools and Materials You’ll Need
Just like baking a cake, it’s always best to make sure you have all the ingredients you need before you begin.
Once you’ve gone to your local home improvement store and purchased your new picture molding, then it’s time to assemble your tools and materials to start your project.
Here is a list of items you will want to have ready to go before you begin:
- Picture molding – If you’re planning on staining or painting your picture molding, have this task complete before you begin the installation.
- Measuring tape
- Miter saw
- Nail gun – You can use a hammer and nails, but a nailing gun will make it go much smoother.
- Square block – Optional. Only needed if you are putting picture frames on the wall and not simply putting a runner of picture molding around the wall. If using square blocks for consistent spacing, have them cut to the size you’re looking to space your boxes.
- Finishing nails
- Caulk
- Caulking gun
- Pencil
- Laser level
- Wood filler
- Lots of patience for everyone involved
Cutting Your Molding
This is always the hardest part because you can’t go back once you make a cut. So, the tried-and-true adage of measure twice and cut once will apply.
Picture Boxes Cutting Instructions
- If you are making numerous picture boxes along your wall, make all the similar-length cuts at the same time.
- Cut all one length, and count to make sure you got them all.
- Then carefully count them again to make sure you have enough.
- Next, move onto a new size to measure, cut, and count.
- Remember, for boxes, all molding is cut at a 45-degree angle to match up the corners.
- If you are using molding that has different edging, make sure to keep the same pattern throughout your boxes (ie, place the thin edging always on the inside of the molding frame).
Picture molding runners cutting instructions
- If you are putting a picture molding runner along the top of the wall(s), measure each wall length, accounting for any windows or doorways.
- Make the cuts as needed.
- Cut all sections before you move on to installing
Installing Your Molding on the Walls
Time to take a deep breath and get ready to change your room’s visual interest so you can proudly show off to friends and family.
Simply follow this easy tutorial:
1. If you’re creating picture molding boxes to place at different intervals on your wall, assemble those first so that when you’re installing them, they are completed box frames.
2. Before you put anything on the wall, set up your laser level to point at the farthest end of the wall. A laser level is important because it will help you stay on track and level as you place either your strip of picturing molding along the wall or as you place your picture molding boxes on the wall.
3. If applying a top running strip of picture molding, secure it only to studs since one of the benefits of this style of picture molding is the ability to hang artwork from it (see the final section of this article for all the benefits). If that is your plan, your molding must be secured well.
4. When installing picture boxes, finding the studs is not as important because your molding will be more decorative, as compared to functional.
5. To nail the picture molding to your wall, use your nail gun and 2- to 3-inch 16 gauge finishing nails. A nail gun makes the installation so much easier!
6. Consider using a wooden block that is the dimension of the space you desire between your picture molding. You can use it throughout the installation to make sure the spacing stays consistent. (This step helps more with picture molding frames than picture molding strips.)
7. Continue this process until all of your wall molding is up.
Once complete, you only have to perform the final touches. You’re almost done!
See also: Your Step-By-Step Guide of How to Caulk Trim
Applying Those Finishing Touches
Once you’ve stretched and taken a step back from installing your picture molding, it’s time to go back to it to finish it off and make it ready for presentation.
Don’t worry, it’s just a few easy steps.
Fill in those nail holes
Go back and look at wherever you nailed your picture molding to the wall. Fill in those holes with wood filler and sand the area smooth so that no one else can see them. Just don’t sand off the finish!
Caulk
Finish with a bead of caulk along the top and bottom edges of the molding where it meets the wall.
Paint
If your plan is to have the molding perfectly match the paint on your wall, now is the time to paint. If you were looking for a picture molding that is either wood or perhaps a complementary color, you hopefully already prepped it before you got it on the wall. Look it over to see if there are any areas you need to touch up quickly.
Dry
Wait for it to dry. Don’t hang anything from your picture molding until all parts of it are dry and well set.
Benefits of Having Picture Molding
Are you trying to decide if this is the right next home project for you? These are the five main benefits of having picture molding.
It Adds Character
We all like that feeling when someone walks into a room of our home and stops and says “Woah!”
It’s especially rewarding when that “Woah” is generated by something we did. Picture molding is a unique and eye-catching way to add interior design pizzazz to any room in your home.
It Creates a Natural Division Line
If you have (or if you want) two-tone walls, picture molding makes it easy to create that division while still being easy on the eyes.
It can also create a much more dramatic switch from one color to the next, building up your room’s beauty and character.
It Gives You a Vintage Look
Picture molding can evoke a time long ago, such as Victorian times when life was simpler.
Adding it to the right room can completely makeover the feel and the heart of the room.
It Saves You From Looking for Studs
Once you have a strip of picture molding around the top of your walls, you can hang your artwork wherever you want. No more having to hunt for studs and then work within those confines for hanging your artwork.
With picture molding, you can hang your favorite wall art from anywhere along the strip of picture rail moulding.
It Lets You Change Your Mind Easily
Sometimes it’s hard to keep the same artwork on your walls for years on end.
With picture molding, you can easily change up your artwork positions and sizes without ending up with a wall full of nail holes.
Similar: How to Go From Minimalist to Maximalist Without Chaos
Conclusion
Picture molding is a wonderful home improvement project for many reasons, namely:
- It’s easy enough for just about anyone to do.
- It’s inexpensive so it won’t break your budget.
- It’s completely customizable to whatever home or room it’s in.
Take your creativity to the next level by installing picture molding in your favorite rooms (or even your not-so-favorite rooms) or on an accent wall. There are really no wrong or right ways to go about it so long as you love it.


